


Leather fringe skirt.
I've always loved genuine leather. Leather shoes, leather hand bags... the texture, the smell, the durability... it's fantastic. So when it comes to clothing, of course, I love anything leather too! Well, maybe not pants. I just can't imagine leather pants being very comfortable to wear, especially when you get hot, but anything else... yes please! That said, I think I've only ever owned a leather jacket in my lifetime... until now.
I've been wanting to make this skirt for the longest time. Especially when the fringe craze was recently happening. But, when you've got two toddlers on your hands full time, you must put your dreams aside (at least temporarily). The fringe trend has now pretty much come and gone, but I don't care. If it's a great idea (and fringe is ALWAYS a great idea IMO), why not sport it all the time? There are some closet staples that are always in style and I think a classic little black leather mini, fringe or not, most definitely is one of those must haves.
When it comes to any leather-related project my first go to for supplies is the thrift store. More often than not, you'll find a great selection of various kinds of genuine leather goodies in various colours, finishes, and sizes that can be reworked into something new.
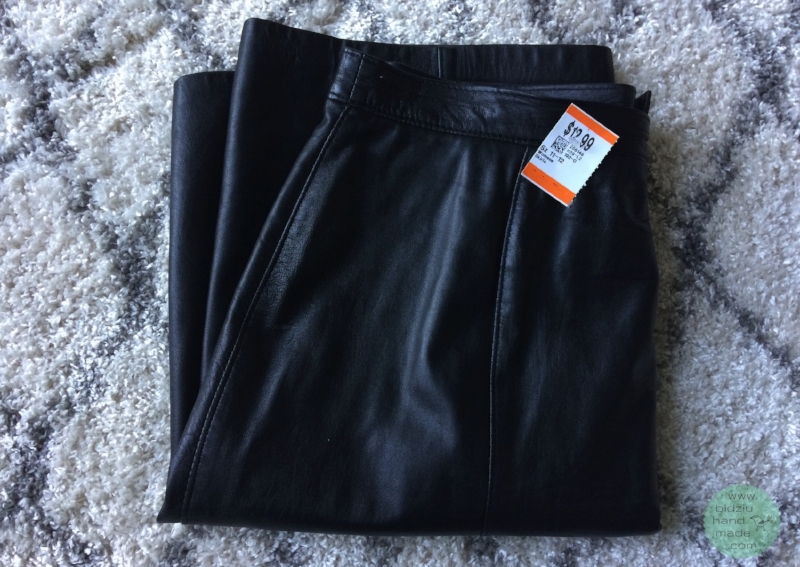
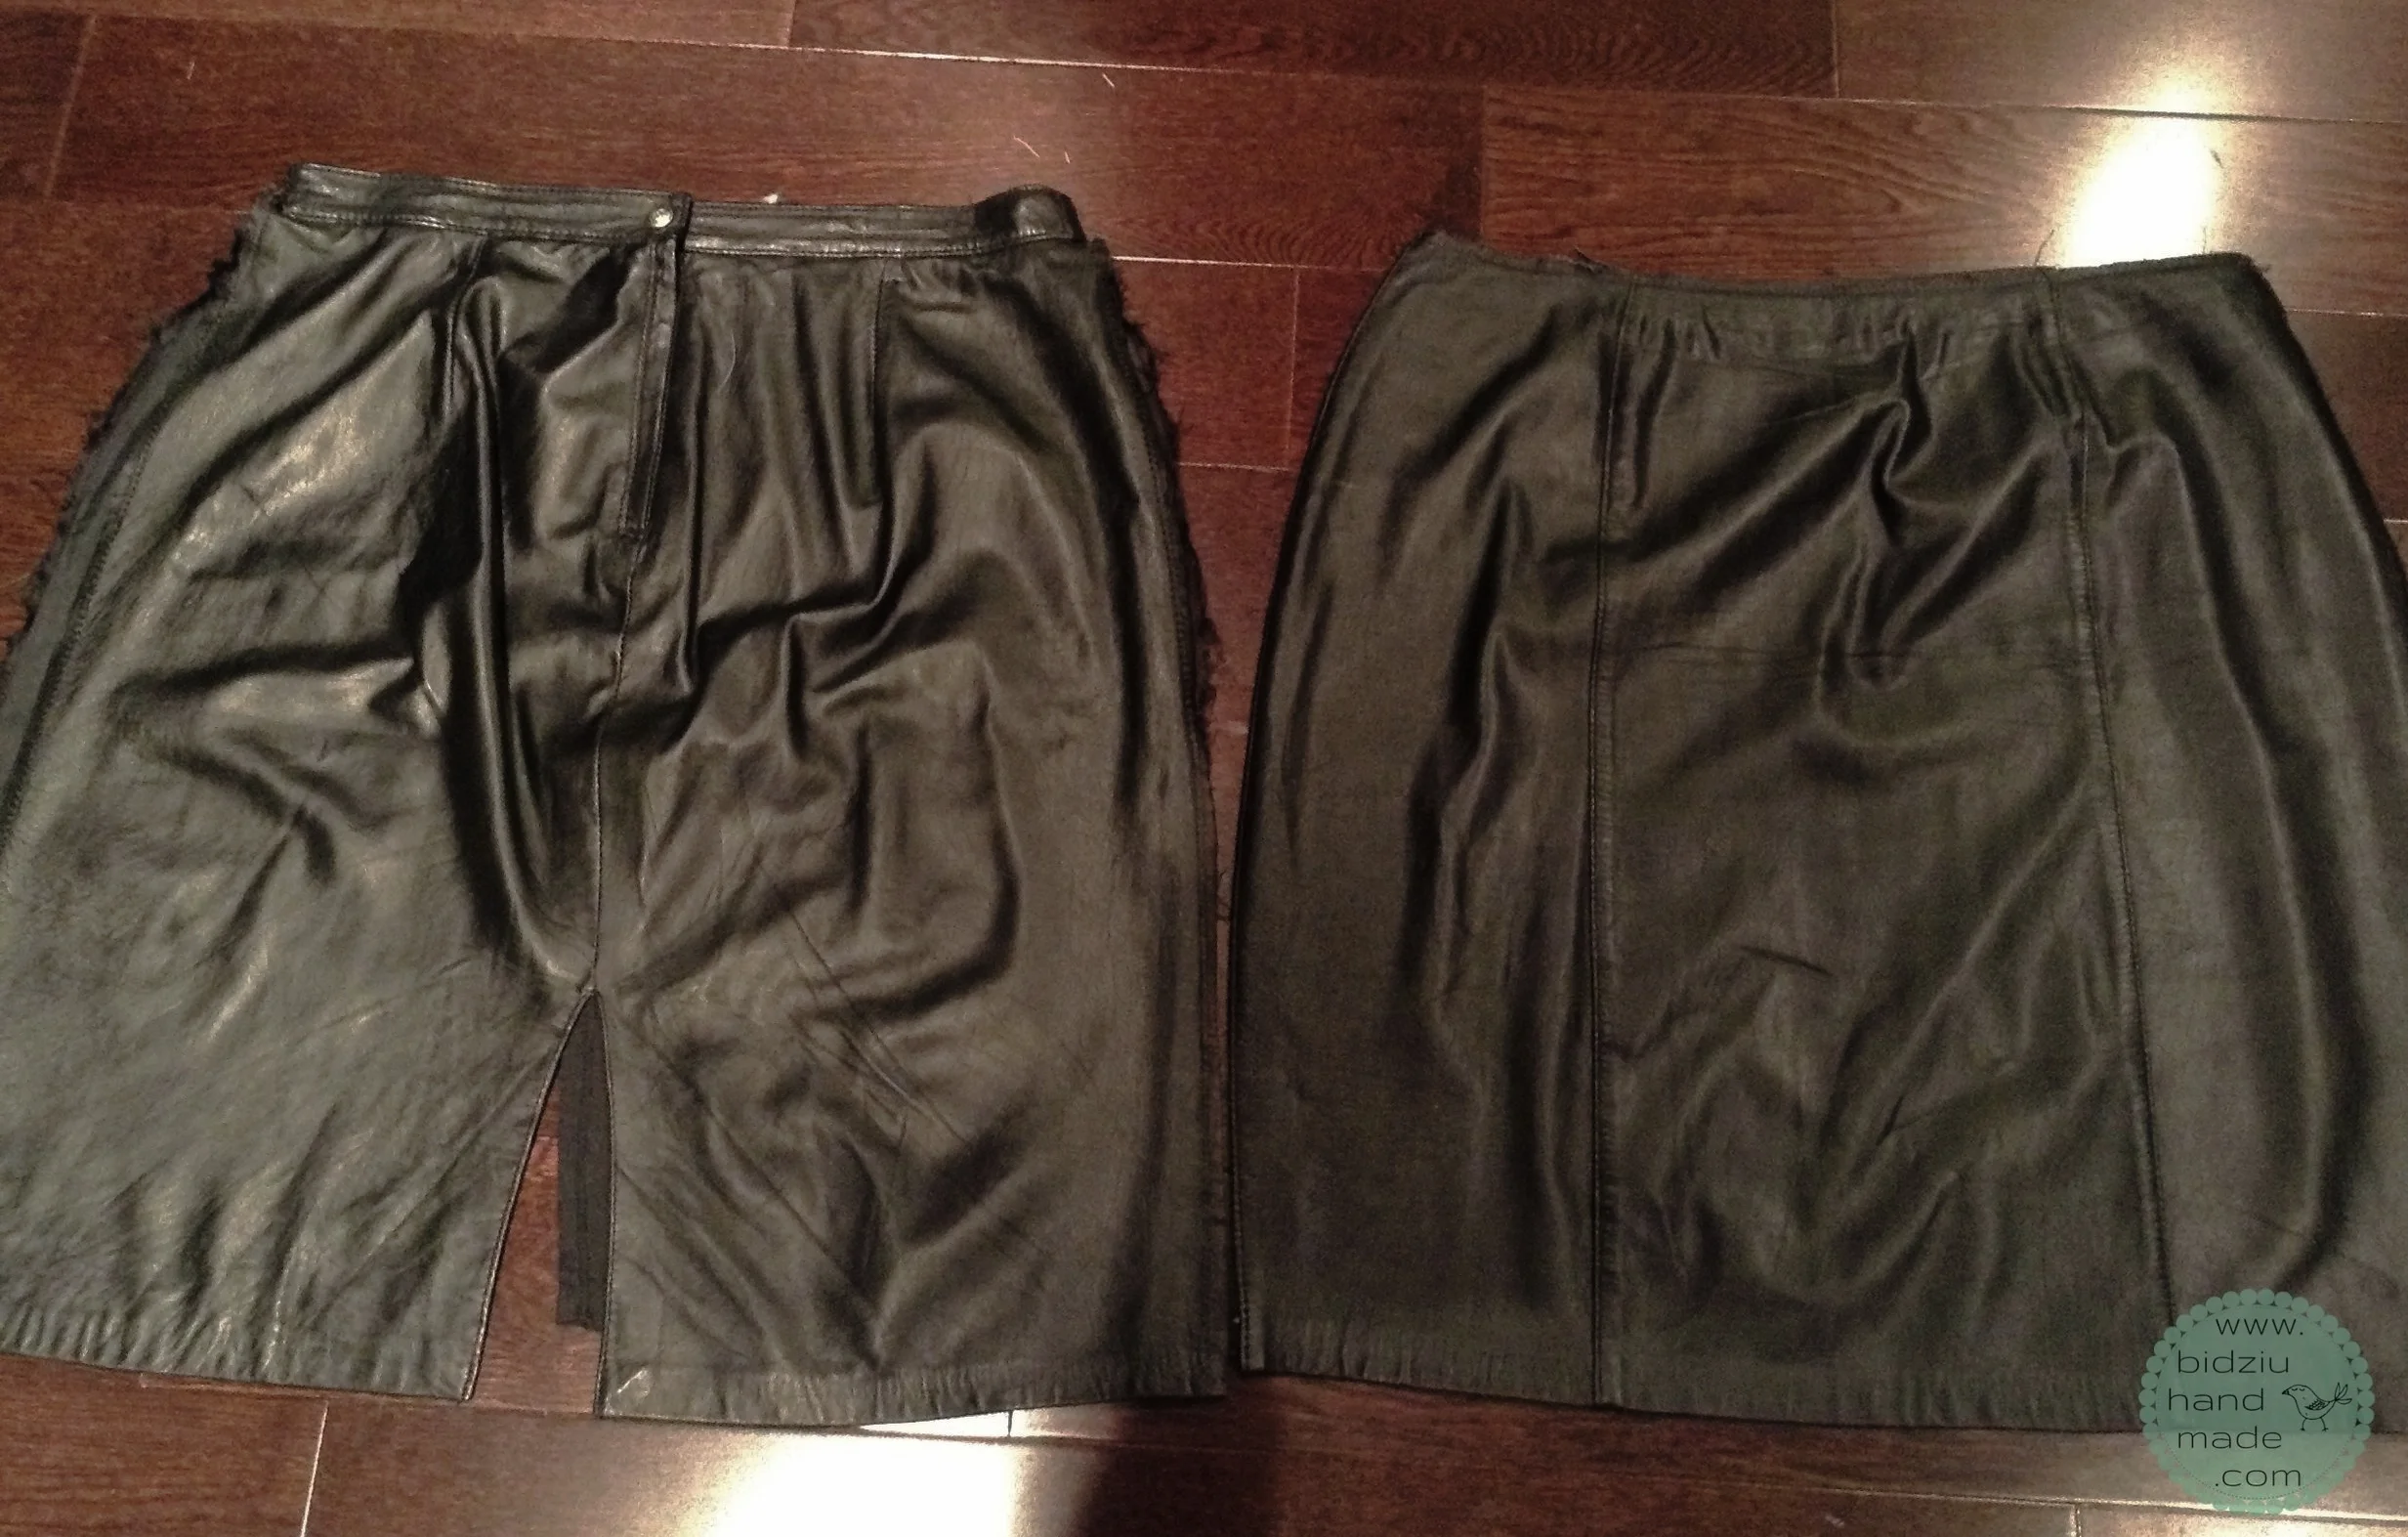
With that said, I set out to Value Village looking for a skirt that I could revamp. The plan was to take an existing black leather skirt, pull it in, cut it short, and use the left overs to make the fringe. Because I did not find one large enough skirt, I ended up purchasing two; one to sew the actual skirt, the other to make the fringe. Luckily, both were made of the same kind of leather with identical colour, texture, and weight. Yeay!

I started off by altering the first skirt to fit me; very carefully so as not to damage the leather, I ripped apart both side seams and took off the waist band (I left the zipper and darts on the back panel untouched).
I laid the panels flat on my working surface (which just so happens to be my floor - I do all my sewing on the floor!) to mark where I needed to cut the panels to make the skirt in my size.
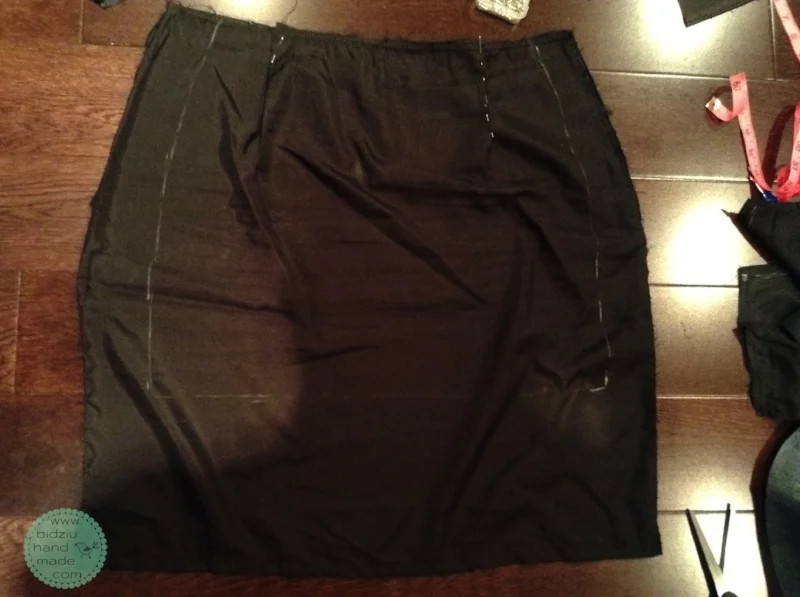
Once I had both panels cut out, I sewed them together on the sides and hemmed up the skirt to the desired length. I repeated this process for the lining panels. To resize the waistband, I simply pulled it in on the side seams.

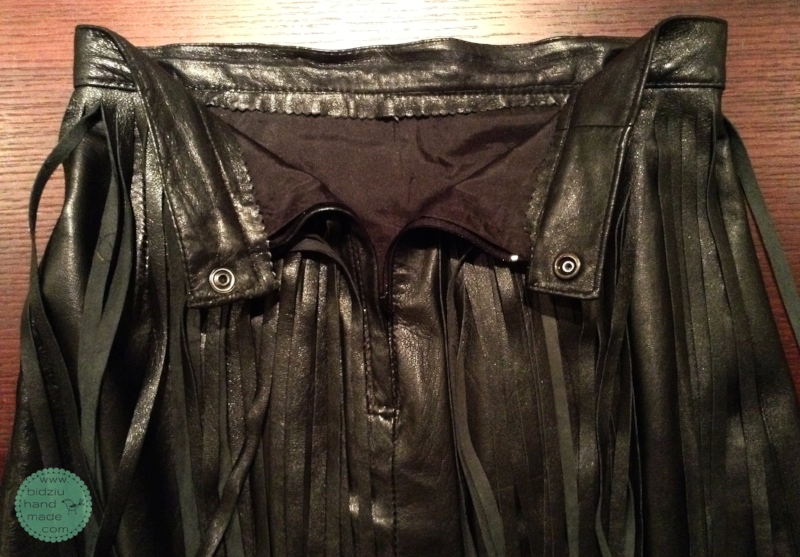
Next, I proceeded to make the fringe. I ripped up the second skirt entirely so that I had large leather sections. I selected the widest and longest sections to make the fringe. I cut a straight line across the top of each section (where it would be sewn into the waistband) and then cut on a perpendicular up towards that top line, stopping approximately 1" away from the edge. At this point, I wasn't sure how long I wanted the fringe to be so I decided to leave it as is and then I'd trim it to the desired length at the very end.

Having to cut each strand individually, I wasn't really sure how the fringe would turn out, but my leather was soft and not very thick and my regular sewing scissors worked great. I took my time, ensuring that each strand was the same width and that I was cutting in a perfectly straight line. I think the fringe turned out beautifully! Just about as perfect as if it was machine-cut in a factory!

Next, I pinned the lining inside the skirt and the fringe sections, side by side, all the way around the outside of the skirt. Once the fringe was in place and I was happy with it, I pinned the waistband to the top of the skirt.

Finally, I sewed the waistband down and voila! The sewing was all complete!


The last step was to trim the fringe. After trying on the skirt, I decided I would like the fringe to be just a little longer than the skirt hemline. I laid the skirt flat on my surface, carefully straightening out all the fringe strands, and trimmed 1.5" below the skirt's bottom edge.

The logical thing would be to cut the fringe all to one length before sewing it on, but I, as with everything, just had to complicate things with my indecisiveness. Either way, this method worked out fine.

And that's it! My skirt was complete! I absolutely LOVE it! It's a little edgy but classy, very fun, and so versatile. I can jazz it up by pairing it with a dressy shirt and heels, but it can also be dressed down with a tucked in t-shirt and cute flats on an easy-going day.


Besides looking awesome, there are a couple other really great things about this skirt too. Firstly, it was made from an already existing leather garment. Upcycling or recycling or whatever you want to call it - it's just great! I love that I was able to take a couple of items, give them new purpose, and save them from possibly ending up in the landfill. Secondly, it only cost me about $30 ($12.99 for each skirt, plus tax) to make and fits me like a glove! I find that whenever I try on anything leather at the store, not only are the prices astronomical, the garments never really fit me all that well; there's always bunching, creasing, or excess material here and there, and it just does not look flattering at all. This skirt... it's like second skin.

Although fringe may not always be the hottest trend, I've never seen it be outdated. Besides, who wants to wear what everyone else has hanging in their closet? As much as I like to follow and be aware of the current trends, there is a little part of me that always rebels against what's mainstream. I love to create and wear my own style. And this skirt is so my style. It will always be a current piece in my closet, that's for sure!


